 Choose delivery from 4-8 weeks onwards
Garden Pod Foundations in the UK: Types, Costs & Best Base Options
A beautiful garden office or studio is only as good as the base it sits on. Strong, well-designed garden pod foundations keep your pod level, dry and comfortable for years. Poor foundations, on the other hand, lead to sticking doors, damp patches and expensive repairs.
In this guide we cover the main types of garden pod bases, how to prepare your ground properly, and what to consider before choosing a system, including the exact base specifications for each Hully Pod model.
- Garden pod foundations must be level, firm, non-sinking, and sized to match your Pod model.
- The three main options are concrete slabs, ground screws, and pad-and-timber-frame systems.
- Choosing the wrong type (or skipping ground preparation) leads to movement, damp, and structural damage.
What are garden pod foundations and why do they matter?
Garden pod foundations are the structural base that supports a garden pod, distributing the combined load of walls, glazing, furniture, and occupants safely into the ground. A properly built foundation keeps the pod level, dry, and stable for the lifetime of the structure.
Your garden pod might look light, but once you add walls, glazing, furniture and people, the weight is surprisingly high. Good foundations spread that load safely into the ground, preventing:
- Movement and subsidence
- Rising damp and floor rot
- Sticking doors and gaps around frames
- Reduced thermal performance and floor bounce
Spending a little extra time and money on the base gives you a garden room that will feel solid, warm and durable from day one.
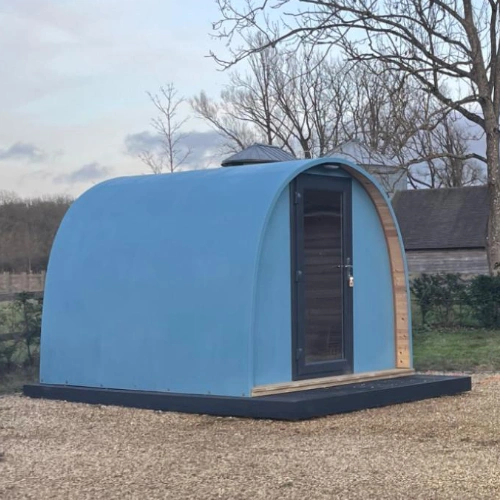
What are the main types of garden pod foundations?
The three main types of garden pod foundations are concrete slabs, ground screws (screw piles), and pad-and-timber-frame systems. Each suits different ground conditions, budgets, and pod sizes.
Concrete slab foundations
A concrete slab is a single reinforced base poured to the full footprint of the pod. It includes a damp proof membrane beneath the concrete and is the most permanent foundation option available.
Best for: Heavier or larger garden offices, soft or wet ground, and permanent installations.
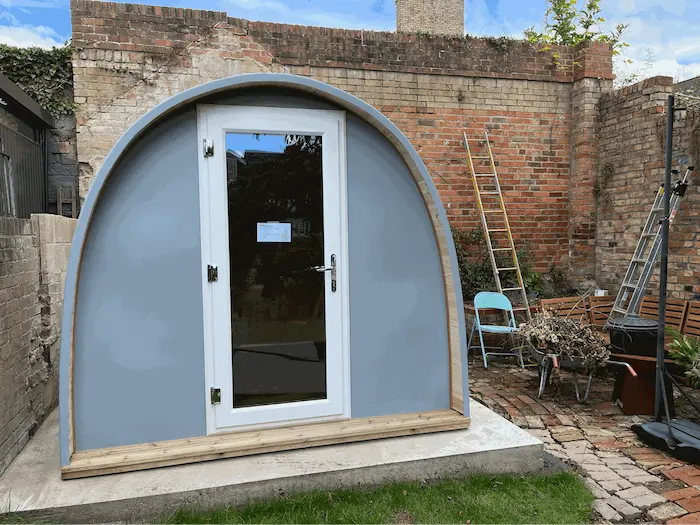
Drawbacks: Requires excavation, shuttering, and machinery access. Takes 7–28 days to cure before the pod can be installed.
Ground screw foundations
Ground screws (also called screw piles) are helical steel screws driven into the soil using specialist equipment. A timber or steel bearer frame sits on top to form the pod base. No concrete is used.
Best for: Sloping gardens, sites with tree roots, locations with restricted access.
Drawbacks: Not suitable for very rocky or extremely waterlogged ground. Professional installation required.
Pad and timber frame foundations
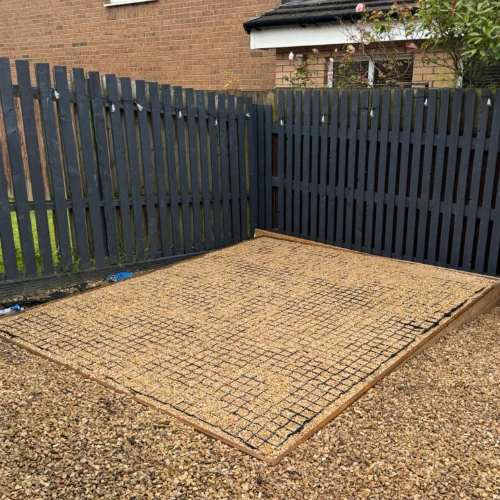
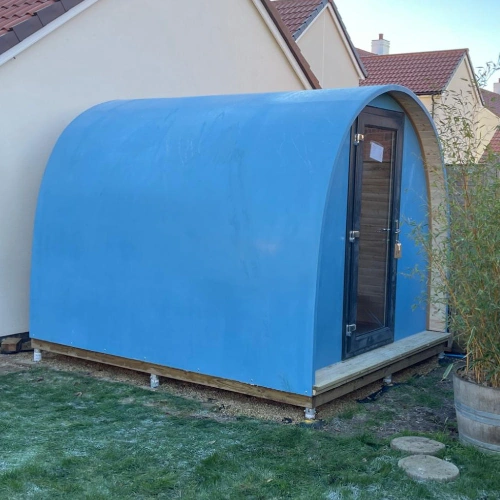
Concrete pads, engineering blocks, or plastic foundation pads are placed at key load points, with a pressure-treated timber sub-frame spanning between them. This is the most DIY-friendly and cost-effective option for smaller pods.
Best for: Small to medium pods on firm, level ground.
Drawbacks: Timber must be fully pressure-treated and raised off the ground with adequate ventilation to prevent rot.
How do you prepare the ground for garden pod foundations?
Ground preparation for garden pod foundations involves five steps: site assessment, footprint marking, topsoil removal, sub-base compaction, and drainage planning. Skipping any of these steps, especially topsoil removal, is the most common reason DIY foundations fail.
1. Assess the site. After heavy rain, note where water pools. Mark the location of drains, manholes, and large tree roots before starting any groundwork.
2. Mark the footprint. Use pegs and string lines. Check diagonal measurements are equal to confirm square corners, an accurate footprint makes installation significantly easier.
3. Remove turf and topsoil. Strip back to firm subsoil. Grass and organic material compress and rot under load. This is where most DIY foundation projects go wrong.
4. Compact a sub-base. Spread crushed stone (MOT Type 1) and compact in thin layers. This creates a free-draining, stable platform for pads, slabs or screws.
5. Plan drainage. The finished surface should slope gently away from the pod. Avoid creating a depression that traps water under the structure.
How do you choose the right foundation type for your garden pod?
The right garden pod foundation depends on four factors: pod size and weight, ground conditions, access for installation equipment, and budget. The table below summarises the key differences.
Factor | Concrete slab | Ground screws | Pad + timber frame |
Best ground type | Soft or wet | Sloping or rooted | Firm and level |
Relative cost | Higher | Mid-range | Lower |
Installation time | 1-4 weeks (inc. cure) | 1-2 days | 1-2 days |
DIY-friendly | No | No | Yes |
Reversible | No | Yes | Yes |
When in doubt, consult your pod manufacturer. Many pod warranties specify minimum foundation requirements by model and ground type. For Hully Pods, the specifications are listed in the section below.
What foundations work for Hully Pods?
Hully Pods are compatible with six foundation types: concrete slabs, existing patios (block or stone paving), new paving slab bases, compacted gravel with edging, decking frames, and railway sleepers. In every case, the finished surface must be firm, flat, level, and non-sinking, especially in wet weather.
Required specifications for all Hully Pod foundations
- Surface level: Must be level within acceptable tolerance for the pod model
- Water runoff (solid bases only): A fall of 1.5 cm per 3.5 m is required, with the higher point at the rear of the pod, sloping towards the front
- Rubber mats: Recommended on concrete bases where the incline cannot be achieved, to prevent water pooling beneath the pod floor
- Hookup note: The Hully Pod hookup connector adds 3.5 cm to the total width, factor this into your base dimensions
Pod Sizes
POD MODEL | EXT W × H × D (M) | INTERNAL W × H × D (M) | WEIGHT | PRICE |
|---|---|---|---|---|
Dory | 2.4 × 2.3 × 1.2 | 2.3 × 2.2 × 1.0 | 250 kg | £2,995 |
Dory OFFICE | 2.4 × 2.3 × 1.2 | 2.3 × 2.2 × 1.0 | 270 kg | £3,895 |
Skipjack | 2.4 × 2.3 × 3.0 | 2.3 × 2.2 × 2.6 | 420 kg | £4,595 |
Skipjack GLASS | 2.4 × 2.3 × 3.0 | 2.3 × 2.2 × 2.6 | 520 kg | £7,095 |
Schooner | 2.4 × 2.3 × 4.2 | 2.3 × 2.2 × 3.8 | 600 kg | £7,095 |
Schooner GLASS | 2.4 × 2.3 × 4.2 | 2.3 × 2.2 × 3.8 | 700 kg | £9,895 |
Recommended base sizes by Hully Pod model
The table below shows the minimum base size for each Hully Pod, including the recommended 5 cm clearance on all sides.
Pod model | Pod footprint | Clearance | Final base size |
244 × 123.5 cm | +5 cm all sides | 254 × 130 cm | |
244 × 303.5 cm | +5 cm all sides | 254 × 310 cm | |
244 × 423.5 cm | +5 cm all sides | 254 × 430 cm |
Which foundation surface types work?
- Concrete base/ Classic, long-lasting. Ideal for a permanent, solid feel.
- Existing patio (blocks or stone paving)/ Suitable if level, solid, and free of cracked or rocking slabs.
- New paving slab base/ New slabs on a proper sub-base give a smart, stable platform.
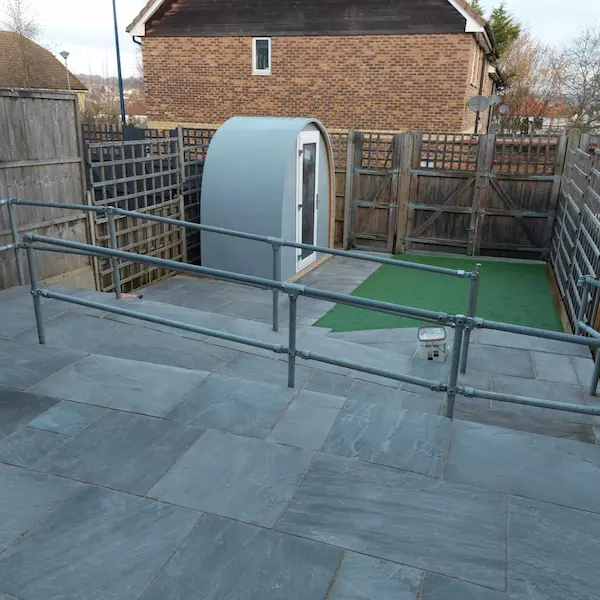
- Gravel base/ Works when combined with proper edging and compacted sub-layers. Loose gravel alone is not sufficient.
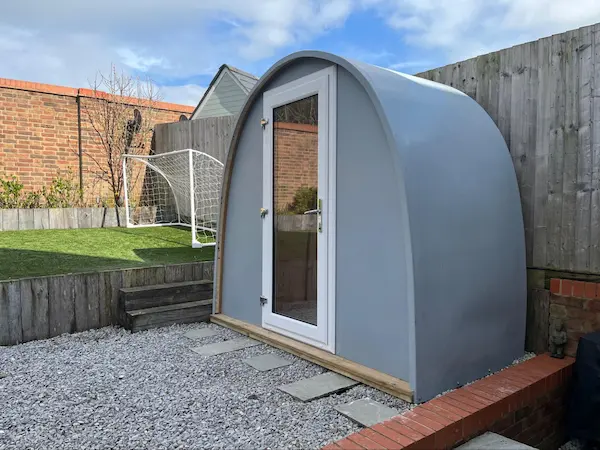
- Decking / Suitable when the frame is strong, properly supported, and designed to carry the pod’s weight.
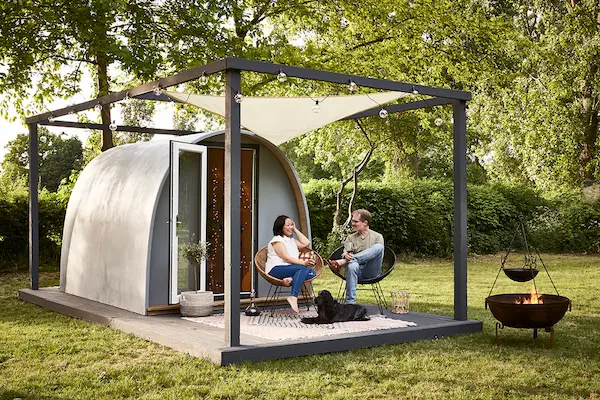
- Railway sleepers / Heavy, treated sleepers form a robust perimeter or grid base when installed on level, compacted ground.
What are the most common mistakes with garden pod foundations?
The most common garden pod foundation mistakes are placing a pod directly on grass or soft soil, skipping topsoil removal, not compacting the sub-base, using untreated timber in contact with the ground, and ignoring surface drainage.
These errors are not always obvious at installation but cause cumulative damage: movement within 6–12 months, rising damp within 1-2 years, and structural timber rot within 3-5 years on poorly ventilated frames.
For more on how to prevent damp in garden office pods, including ventilation and insulation, see our dedicated guide.
Do garden pod foundations need planning permission?
In England and Wales, garden pod foundations for structures that qualify as Permitted Development (PD) do not typically require separate planning permission. If the pod itself requires planning permission, due to size, height, or proximity to boundaries, the foundations are included in that application.
For a full breakdown of what applies to garden rooms, see our guide to garden rooms planning permission in the UK. Always verify current rules with your local planning authority before starting work.
Frequently asked questions about garden pod foundations
Do all garden pods need foundations?
Yes. Every garden pod, regardless of size, requires a flat, firm, and level base. Without foundations, the pod will move, allow damp ingress, and sustain structural damage. There is no garden pod suitable for placement directly on untreated grass or soil.
Can I put a garden pod on an existing patio?
Yes, if the patio is level, solid, and in good condition with no cracked or rocking slabs. An existing patio in good repair can be used directly as a garden pod foundation. Loose, uneven, or damaged patios require relevelling or replacement before the pod is installed.
Are ground screws better than concrete for garden pod foundations?
Neither is universally better. Ground screws install in 1-2 days and perform well on slopes; concrete slabs suit heavier permanent structures but require 1-4 weeks to cure. The right choice depends on soil type, pod size, and site access.
Can a garden pod go on gravel?
Loose gravel alone is not a suitable garden pod foundation. Gravel can work when combined with firm compacted sub-layers, proper edging to prevent spread, and a pad or frame system to carry the pod load. The finished surface must be stable enough that the pod cannot sink or shift.
How thick should a concrete slab be for a garden pod?
For most residential garden pods, a reinforced concrete slab of 100–150 mm is standard. Larger or heavier structures benefit from 150–200 mm. Always follow your pod manufacturer’s specification for minimum slab thickness.
What is the incline requirement for a concrete garden pod base?
A concrete base for a garden pod should slope at a rate of 1.5 cm per 3.5 metres to allow rainwater runoff. The high point must be at the rear of the pod, sloping towards the front. Where this incline cannot be achieved, rubber mats with drainage holes should be placed between the base and the pod floor to prevent water pooling.
How long does it take to install garden pod foundations?
Installation time varies by type: concrete slabs take 1–4 weeks including curing time; ground screw installation takes 1–2 days; pad and timber frame systems can typically be completed in 1 day. Ground screws and pad systems allow pod installation to begin immediately after the base is complete.
Can I use a garden pod as a home office if it’s on a temporary foundation?
Yes, provided the foundation meets the firm, flat and level requirements. Pad and timber frame foundations or ground screws are fully suitable for a permanent home office garden pod — “temporary” refers to reversibility, not structural quality. A well-installed pad foundation performs as well as concrete for a residential garden office.